フィアット クラッチ交換(後編)
ブログ
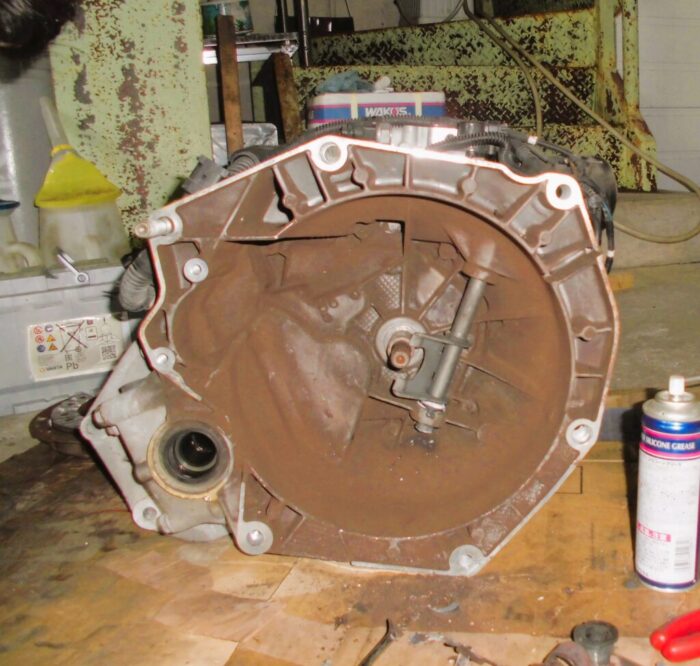
FIAT500 作業の続きです(^^)
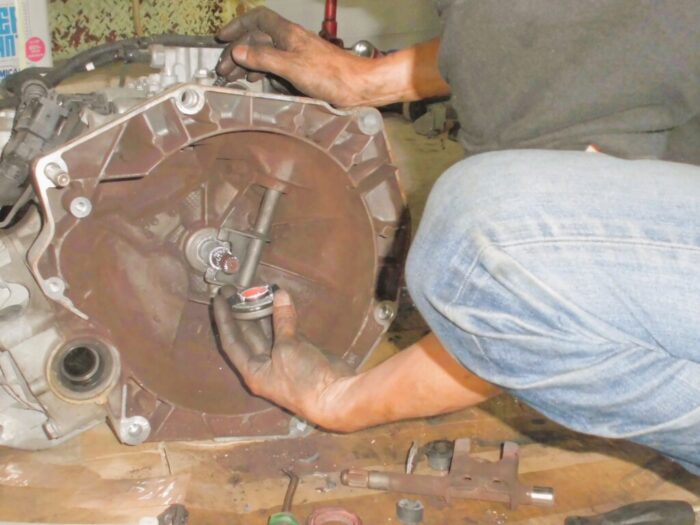
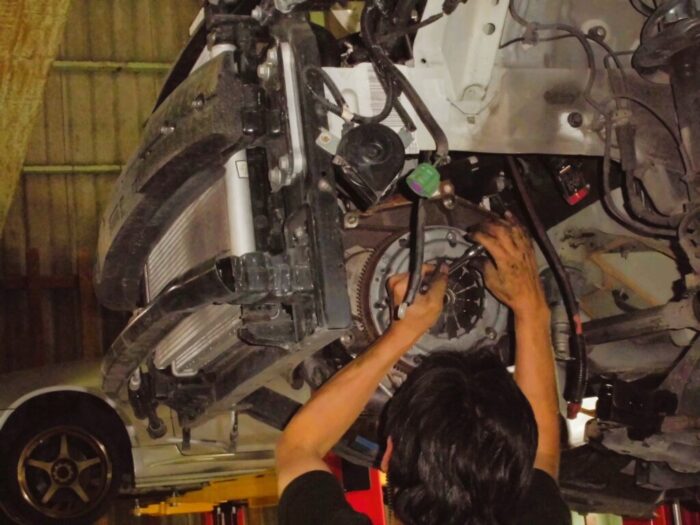
レリーズベアリングをはめていきます。
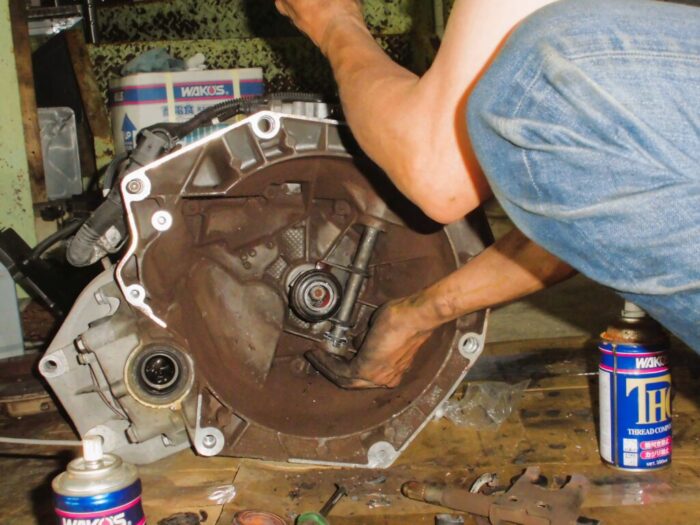
クラッチディスク&カバーを取り付けて
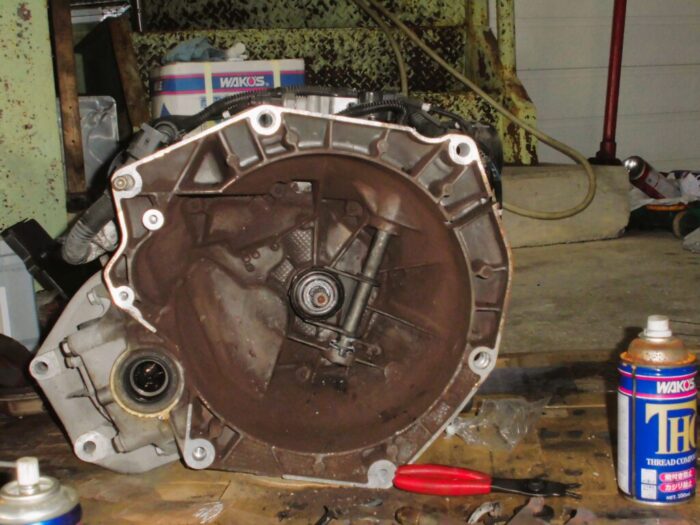
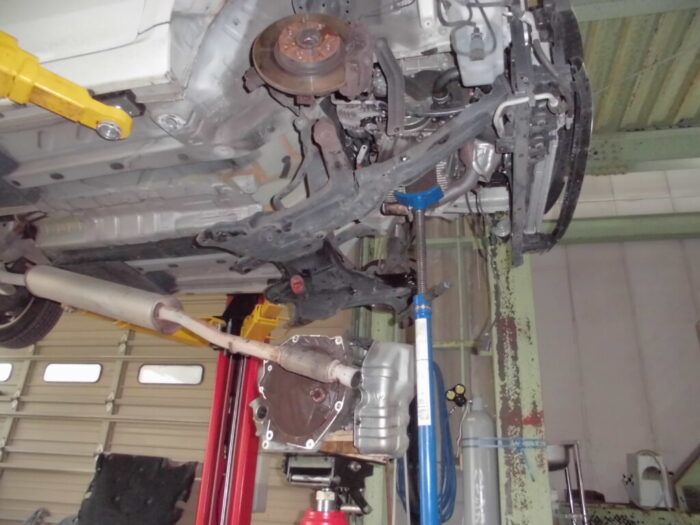
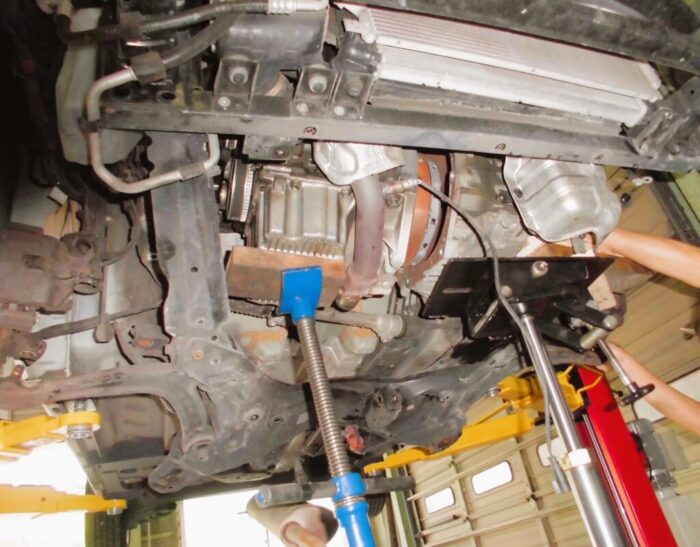
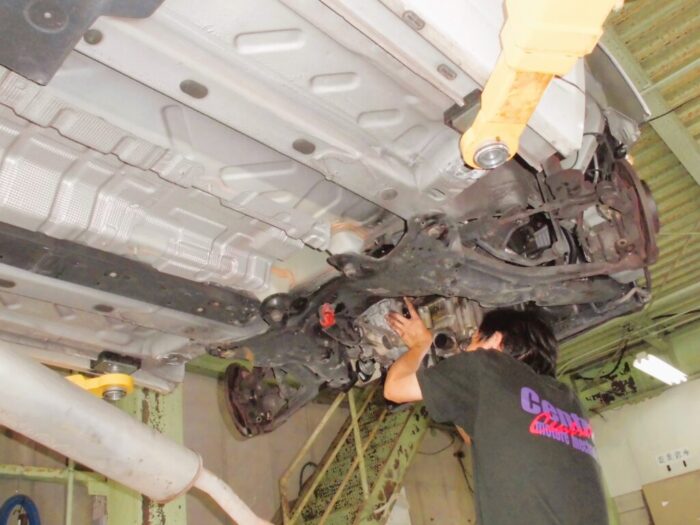
ミッションを組み付けていきます。


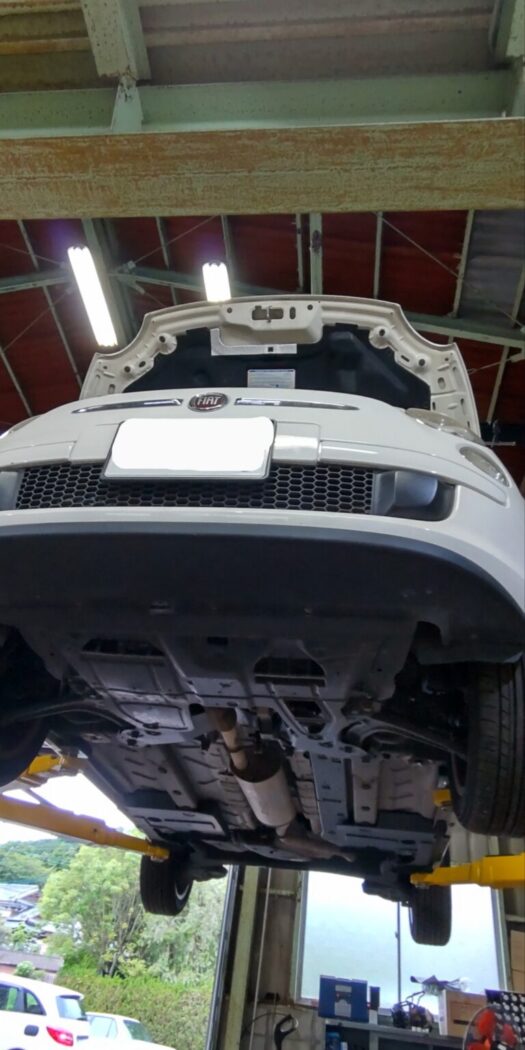
以上で全ての作業が終わり、納車となりました(^-^)
FIAT500 作業の続きです(^^)
レリーズベアリングをはめていきます。
クラッチディスク&カバーを取り付けて
ミッションを組み付けていきます。
以上で全ての作業が終わり、納車となりました(^-^)